
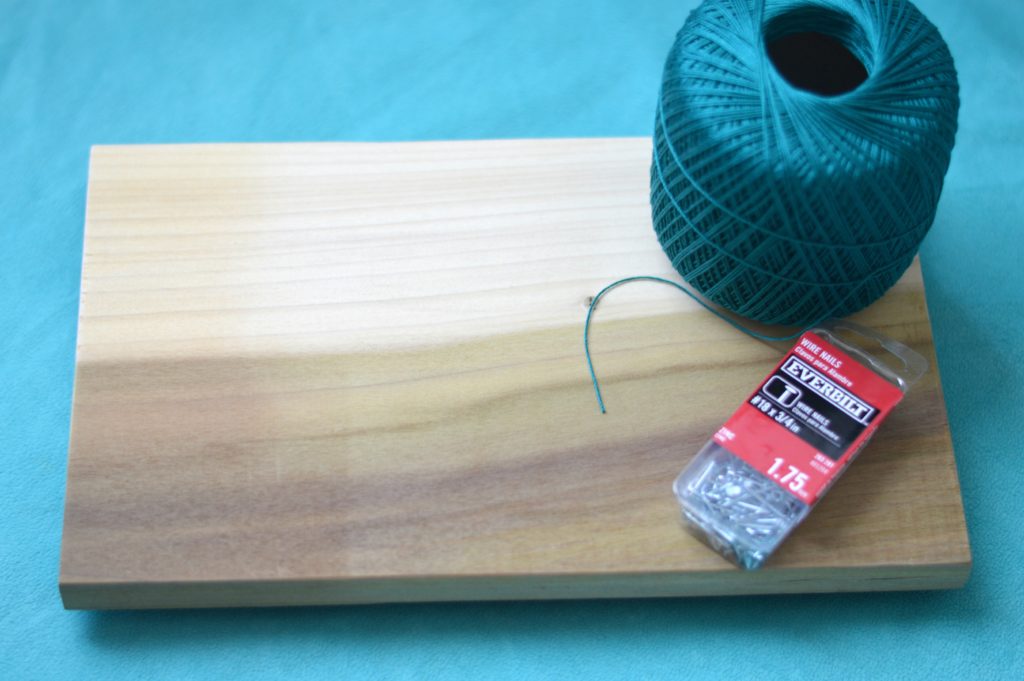
Let’s gather the supplies!
*Find a great piece of wood filled with character- cut to size (Lowe’s and Home Depot make cuts really cheap)
*Colored string
*Finishing nails, and a hammer
Step 1
Draw or print out a silhouette. Personally I think whales are easy enough to free hand, and have enough curves that you don’t have to be exact. I like to use my paper outline through out the whole project.
Step 2
Grab the hammer and start hammering 1 nail at a time around the outline of the whale. You have a couple choices here, go visually or pencil a dot approximate the same distance for the entire outline. You just have to ask yourself, are you a perfectionist or a little more loosey goosey? 🙂
*An additional tip would be to pre-drill the holes so every nail goes in very straight- your call.
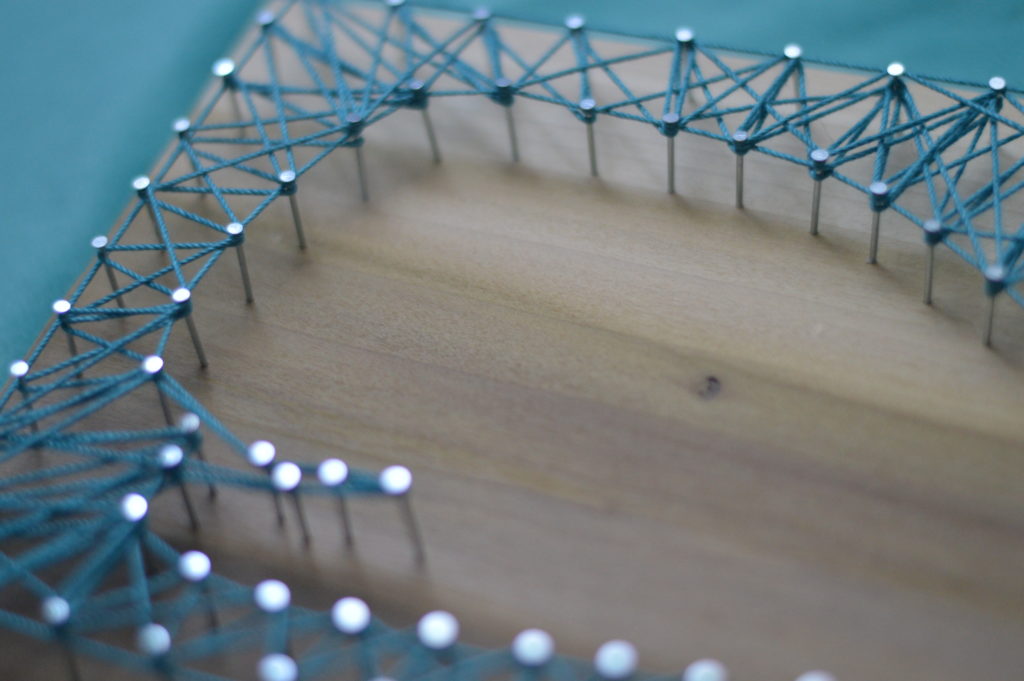
Step 3
After the outline of the whale, hammer in the nails around the perimeter of the wood. Now comes the FUN part, the string! I like to start at the bottom corner and work my way around the entire perimeter first. Next, begin to cris-cross the string from the whale to the outside edge.
There’s really now wrong way because you’re the artist, you can constantly see how it’s coming together. If you don’t like the way a cris-crossed patterned turned out it, just redo it.


Since I’m making the nursery whale themed, this piece will fit in perfectly 🙂
